Table of contents14 sections
- 1. Choosing an installation location
- 2. Measuring available space
- 3. Checking doorways and access routes
- 4. Flooring requirements
- 5. Foundation and structural support
- 6. Electrical preparation
- 7. Ventilation
- 8. Moisture management
- 9. Delivery logistics
- 10. Assembly considerations
- 11. Professional installation
- 12. Final inspections and safety checks
- Printable pre-installation checklist
- What you can do yourself, and what needs a pro
A sauna installation is a small building project. The sauna itself may be the easiest part; the work that goes around it — the base, the power and the route in — is where projects stall.
This guide walks through every step in the order it happens, and highlights what you can realistically plan yourself and what needs a professional.
1. Choosing an installation location
Indoors, choose a room that tolerates heat and moisture: a basement, utility room, garage or dedicated wellness space. Avoid areas where splash and humidity would damage finishes.
Outdoors, pick a level, well-drained spot with access for delivery and maintenance. Watch the site for a day: where does water pool after rain? Where does the sun land?
Check the location works for you in practice — heating speed, distance from the house, and whether you'd use it in winter.
2. Measuring available space
Measure wall to wall at floor level and again at waist height, since rooms are rarely square. Mark the cabin footprint on the floor with tape and walk around it.
Leave clearance for the door swing, the heater, and any ventilation grilles. If the sauna is against a wall, leave a small gap for air movement unless the manufacturer says otherwise.
3. Checking doorways and access routes
Measure every opening on the path from street to site: gates, doors, stairwells, turns. Compare with the shipment's crate size, not the sauna's assembled size.
If the route is tight, ask whether the model ships flat and check the largest panel dimension. Outdoor models often arrive on a pallet and need a level, hard path for a pallet truck.
4. Flooring requirements
Indoor saunas need a flat, moisture-tolerant floor. Concrete, tile, vinyl and laminate generally work; carpet does not. Slight slopes in older floors can be shimmed, but check with the manufacturer first.
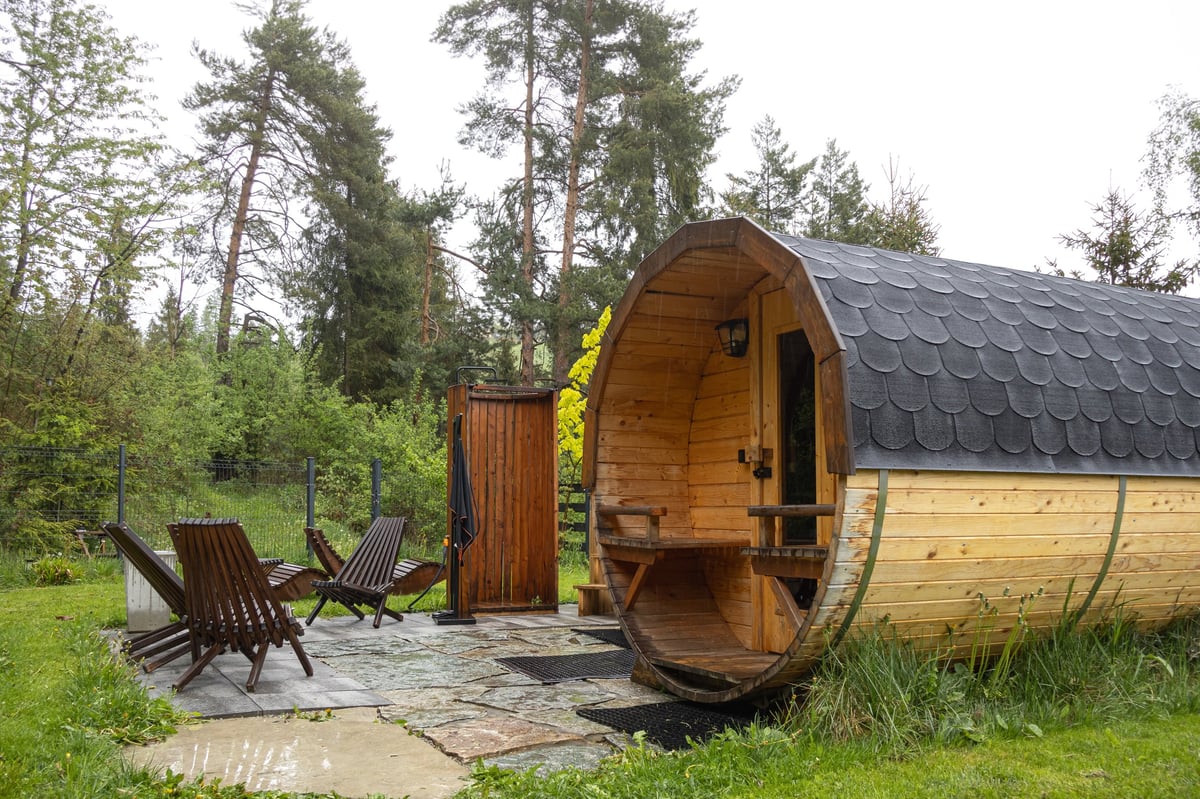
Outdoors, make sure the base can carry the weight. A 4-person barrel might weigh 700-800 lbs assembled plus the heater and stones.
5. Foundation and structural support
Outdoor saunas need a level base of concrete, compacted gravel or decking. A base that shifts will twist the sauna — doors bind and timber stresses.
Let the base settle before the sauna arrives, especially on newly prepared ground. If the sauna is going on a deck, confirm the deck's load capacity is suitable.
6. Electrical preparation
Schedule electrician visits early. Confirm the circuit required by your model, whether it needs hardwiring, and whether the panel needs moving or upgrading.
Install the supply before the sauna is assembled where possible, so the final connection is a quick fit rather than a reason to wait.
Never attempt to wire a heater or modify a circuit yourself. The installation must follow manufacturer specifications, local codes and permits, and be carried out by a qualified electrician.
7. Ventilation
Plan for fresh-air intake and exhaust. Most kits include vents, but you should know where they are and that they won't be blocked by furniture or walls.
Indoors, ventilation also matters for the room around the sauna — you don't want humidity trapped between the cabin and an outside wall.
8. Moisture management
Allow the sauna to dry out after each session. Use a floor mat, keep the door open after use, and avoid storing wet towels inside the cabin.
Indoors, a small fan can help move humid air. Outdoors, ensure water drains away from the base rather than pooling under the sauna.
9. Delivery logistics
Most large saunas ship LTL, curbside. You'll usually need to arrange the delivery appointment and provide offloading help. Some retailers offer door-to-door or liftgate options.
Check the crate weight and dimensions in advance. If you can't manage it, hire help or a forklift — many cabins weigh over a thousand pounds crated.
10. Assembly considerations
Barrel kits can often be erected by two people in hours. Cabins may need a day or more and extra hands for lifting panels and glass.
Read the manual before delivery day, and have the tools ready: cordless drill, spirit level, tape, mallet, and any special tools specified.
11. Professional installation
Consider professionals for electrical work, large cabin assembly, base preparation and any site landscaping. Many retailers offer installation services or can recommend approved fitters.
Only hire someone appropriately qualified for each part of the job. An electrician for the wiring; builders or landscapers for the base.
12. Final inspections and safety checks
- Check all fasteners, bands and door alignment.
- Test the heater and controller on a short cycle.
- Confirm the circuit is correctly labelled at the panel.
- Check safety clearances around the heater.
- Test lights and vent operation.
- Note any damage before signing for delivery.
Printable pre-installation checklist
Pre-installation checklist
- 1Location chosen and marked on the floor
- 2Room measured, including door swing
- 3Access route measured against crate size
- 4Floor or base confirmed suitable
- 5Outdoor base laid and settled
- 6Electrical requirement confirmed with an electrician
- 7Circuit installed or scheduled
- 8Ventilation plan confirmed
- 9Delivery date and offloading help arranged
- 10Assembly tools ready
- 11Manufacturer manual read
What you can do yourself, and what needs a pro
| Task | Who does it |
|---|---|
| Measuring, marking and planning | Homeowner |
| Assembly of many cabin kits | Homeowner |
| Base preparation (gravel/patio) | Landscaper or builder |
| Concrete foundations | Builder or contractor |
| Electrical work | Qualified electrician |
| Gas or wood-burning flue work | Qualified professional |
| Final safety checks on wiring | Electrician |
Frequently asked questions
How long does a home sauna installation take?+
A straightforward cabin kit can be assembled in a day by two people; larger cabins and outdoor builds take longer, plus time for the electrical connection.
Do I need a permit to install a sauna?+
It depends on your location and the work involved. Electrical work usually requires a permit, and some municipalities have rules about outdoor structures. Check with your local building department.
Can an indoor sauna go in a garage?+
Often yes, provided the space is dry, well ventilated and has a suitable floor and power supply. Garages can be damp, so check for moisture before installing.
Not sure which sauna fits?
Six quick questions about your space, budget and capacity, and we'll narrow it to three matches.